Storage space in an RV is limited, and keeping your closet organized can be a real challenge. Whether you’re a full-time RVer or a weekend camper, a cluttered closet makes finding clothes frustrating and wastes precious space.
The solution? DIY custom closet dividers! With a few simple materials and creative hacks, you can maximize space, keep clothes neat, and make your RV feel more like home.
🛠️ Why You Need Closet Dividers in Your RV
✅ Maximize Space – RV closets are small! Dividers help you store more efficiently.
✅ Reduce Clutter – No more clothes falling into a messy pile.
✅ Separate Clothing by Type – Keep shirts, pants, jackets, and accessories in their own space.
✅ Prevent Wrinkles – Dividers help keep folded clothes neat and upright.
✅ Easy to Build & Customize – Make dividers that fit your exact needs!
🔨 Step 1: Choose Your Closet Divider Style
Before starting your DIY project, decide which type of divider system works best for your RV closet:
1️⃣ Vertical Dividers (Best for Shelves)
✔️ Ideal for small, open shelves
✔️ Keeps folded clothes from toppling over
✔️ Great for separating t-shirts, pants, or accessories
2️⃣ Hanging Rod Dividers (Best for Hanging Clothes)
✔️ Helps separate outfits, seasonal clothes, or categories
✔️ Simple plastic dividers fit over your closet rod
✔️ Great for keeping jackets and daily wear organized
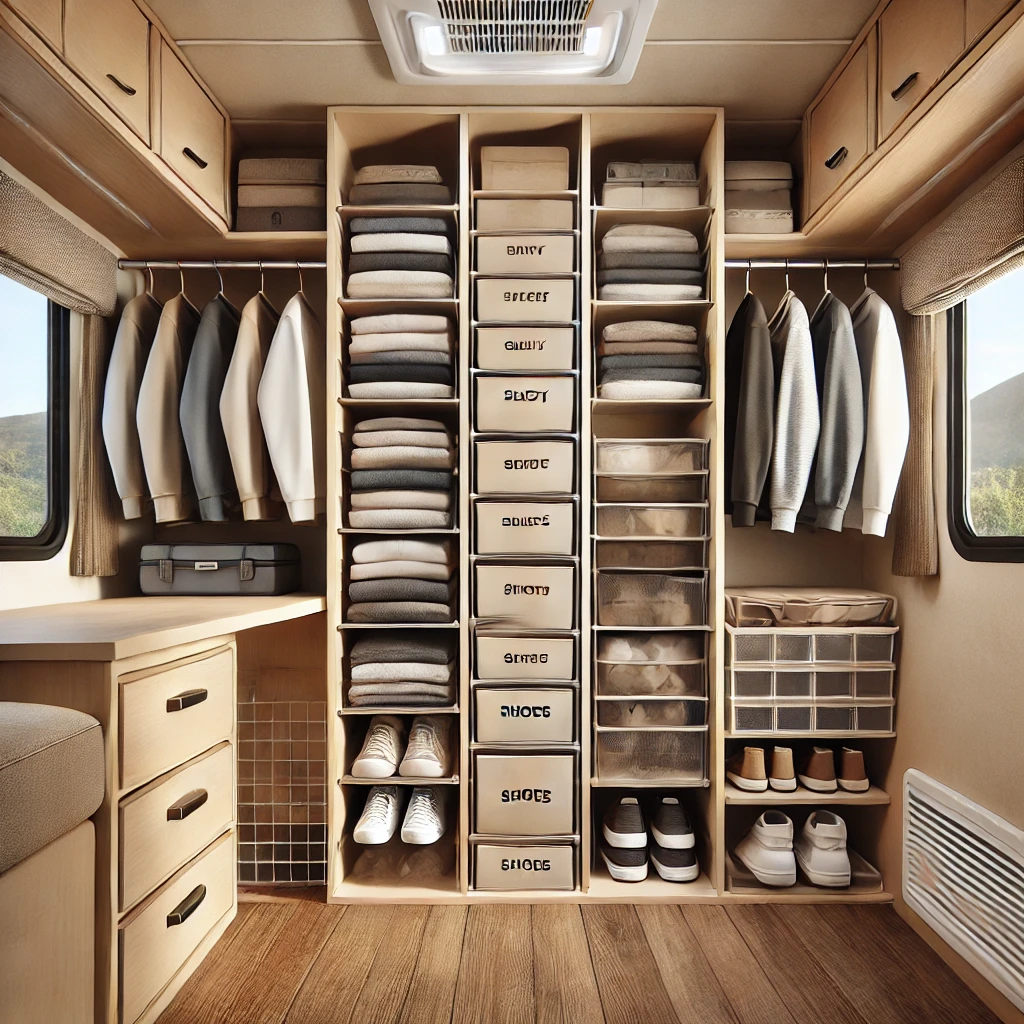
3️⃣ Pull-Out Bins or Boxes (Best for Deep Closets)
✔️ Prevents hard-to-reach piles in deep storage spaces
✔️ Use fabric bins, plastic totes, or DIY wood crates
✔️ Label each bin for easy access
💡 Pro Tip: Combine two or more styles to fully optimize your closet space!
🧰 Step 2: Gather Your Materials
Depending on your chosen divider type, here are the materials you’ll need:
📦 For Vertical Shelf Dividers:
✔️ 1/8" tempered Masonite, plywood, or acrylic sheets
✔️ Measuring tape & pencil
✔️ Wood glue or screws (for wooden dividers)
✔️ L-brackets (optional) for extra support
🪵 For Hanging Rod Dividers:
✔️ Plastic or wooden dividers (available on Amazon)
✔️ DIY alternative: Cut round PVC pipes or repurpose wooden rings
✔️ Labels or stickers (to mark categories)
🗄️ For Pull-Out Bins:
✔️ Fabric storage cubes, plastic bins, or wire baskets
✔️ Drawer slides (optional) for smooth pull-out access
✔️ Label maker or chalkboard tags
💡 Pro Tip: Choose lightweight materials that won’t add unnecessary weight to your RV!
📏 Step 3: Measure & Cut Your Dividers
1️⃣ Measure Your Closet Space
- Use a tape measure to get exact dimensions of shelves or rods.
- Account for slide-out bins or hanging storage.
2️⃣ Mark & Cut the Dividers
- If using Masonite or plywood, cut pieces to match your shelf height.
- For hanging dividers, cut PVC or wood rings to slide over the closet rod.
3️⃣ Sand & Smooth Edges (If Needed)
- If using wood or Masonite, sand rough edges for a smooth finish.
💡 Pro Tip: Label each divider before installing so you know where everything goes!
🔧 Step 4: Install Your Custom Dividers
📦 Vertical Shelf Dividers:
🔹 Glue, screw, or attach L-brackets to secure dividers between shelves.
🔹 Use adjustable tension rods to separate sections.
🔹 Arrange clothes by category (e.g., shirts, pants, sweaters).
🪵 Hanging Rod Dividers:
🔹 Slide plastic or wooden dividers over the rod.
🔹 Use labels like "Jackets," "Daily Wear," "Formal," "Rain Gear."
🔹 Add hanging organizers for shoes or accessories.
🗄️ Pull-Out Bins or Baskets:
🔹 If using drawer slides, attach them to the bottom of bins for easy pull-out access.
🔹 Stack multiple bins for extra storage.
🔹 Label each bin with contents (e.g., Socks, Winter Clothes, Towels).
💡 Pro Tip: Use non-slip shelf liners to keep items from shifting during travel!
🚐 Step 5: Organize & Maintain Your Closet
✔️ Best Practices for an Organized RV Closet:
✔️ Rotate Seasonal Clothes – Store winter clothes when not in use.
✔️ Use Packing Cubes – Keep small items like underwear or socks contained.
✔️ Keep It Lightweight – Avoid heavy bins that add unnecessary weight.
✔️ Declutter Often – If you haven’t worn it in 6 months, donate it!
💡 Pro Tip: Every item in your RV should have a dedicated space!
🏁 Final Thoughts: Your RV Closet, Organized & Functional!
With custom DIY closet dividers, you’ll never have to deal with messy piles, lost items, or wasted space again! These easy hacks make packing, storing, and accessing your clothes a breeze.
🚐 Have you built custom closet dividers for your RV? Share your tips and photos in the comments!